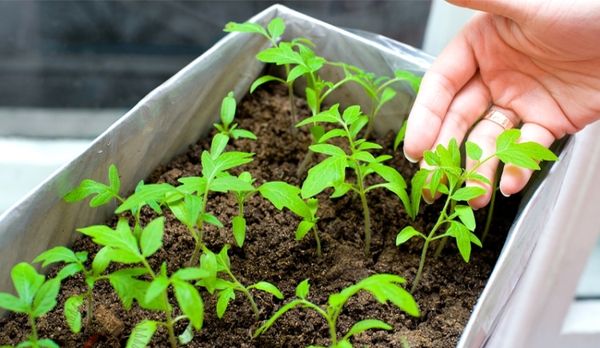
Experienced gardeners have long noted that when growing tomatoes from seedlings, the yield and immunity of plants is significantly higher than when they are sown directly on open beds. Growing seedlings at home will not be difficult if you adhere to certain requirements and take care of them properly.
Table of contents
The correct timing of sowing tomato seeds
Correctly sowing time will be the key to good growth of the bush and its abundant fruiting. Sow seeds for seedlings 55-60 days before planting seedlings in open ground.
In different regions, landing periods depend on climatic conditions. For example:
- in Ukraine and southern Russia, sowing must be performed from February 15 to 20;
- in the center of Russia - March 15 - 20;
- on the North of Russia - from April 1 to 15.
Seed preparation
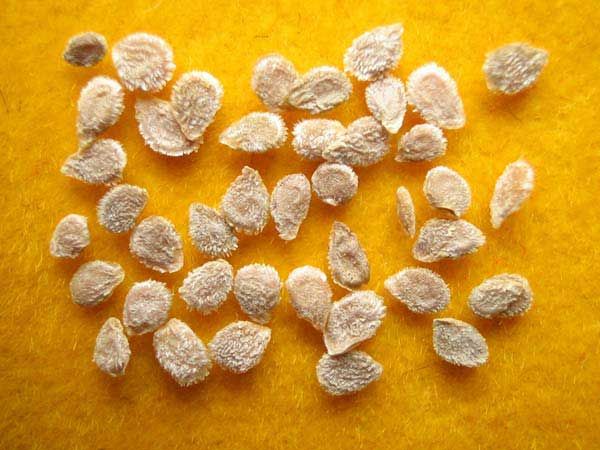
For this you need soak them in a solution of salt for 10 minutes. Remove seeds that float to the surface, as they are not suitable for sowing. Watered down and disinfected in a 1% solution of potassium permanganate, dropping the seeds into a cloth for 10 minutes.
Watch the time carefully, so as not to overstay the seed in the solution, as this will reduce germination.
Disinfected seeds should be soaked in a growth promoter for better germination. After that, carry out the procedure of hardening by placing them in a tissue bag in the refrigerator for a day.Hardened seeds warm for 8 hours at a temperature +21 degrees.
Soil preparation
Mix the soil from the garden in equal parts with sifted river sand, peat or humus and add ash to normalize the level of acidity. Ready ground must be sanitized in order to prevent diseases.
This can be done in two ways:
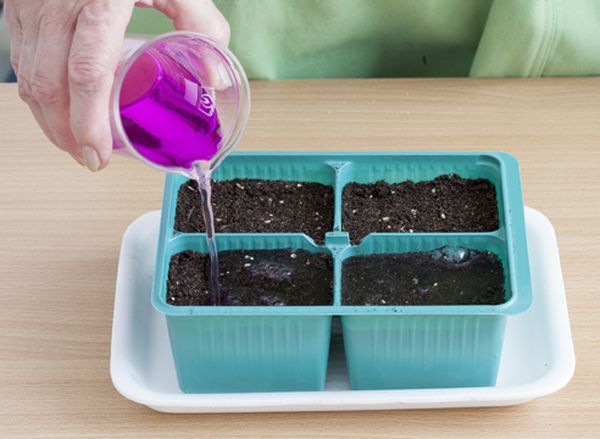
- Well pour the soil with a hot solution of strong manganese;
- Warm up the soil in the oven for 15-20 minutes at a temperature of 190-210 degrees.
Sowing seeds at home
Prepare the prepared soil in containers, smooth it well. Sow seeds in the grooves depth 0.5—0.7 cm on distance 2.5 cm from each other. Sprinkle with a thin layer of earth, moisten with a spray bottle and cover with polyethylene.
Move container to a dark room with temperature. + 27 + 28 degrees. Polyethylene must be opened during this time to give the seeds access to oxygen. Moisten the soil as needed. When the first germs appear, remove the polyethylene and transfer the container to a well-lit room.
The temperature in the room the first week should be in the afternoon + 13 + 15 degrees, at night + 8 + 10 degrees. On the second week, the temperature is increased by 4 degrees during the day and at night.
Lighting
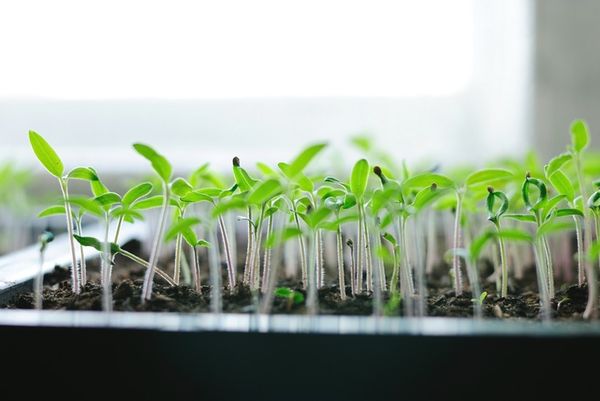
After the emergence of seedlings, special attention should be paid to lighting and care. Container with sprouts should be placed on the lighted windowsill.
In case of insufficient lighting, it is recommended that seedlings create an additional round-the-clock light for the first three days. This can be done with the help of fluorescent lights. In the future, the duration of the day should be not less than 16 hours.
Watering
Watering must be done Once a day with a spray bottle. Watering of watering can not be that the stream of water does not damage the still weak root system.
Water should be at room temperature. Watering should be moderate, as excess moisture will lead to fungal diseases.
Top dressing
The first feeding is necessary to produce 14 days after the first shoots. In the future feeding to make every week.
Best of all, fermented mullein or chicken droppings are suitable for tomatoes. You can also use ashes, crushed eggshells, infusion of onion peel. It is necessary to apply fertilizer after watering in the morning or in the evening. Fertilizers are applied to the root zone.
Dive seedlings
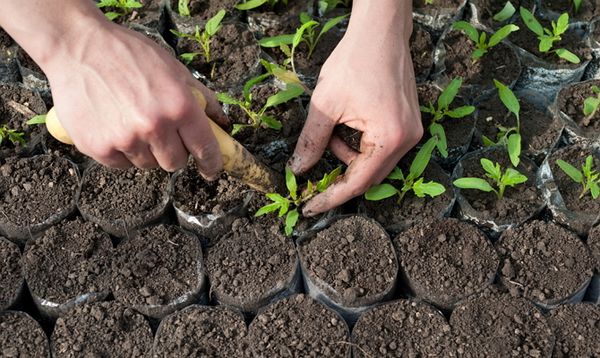
If the seeds were sown densely, then the first pick should be performed. 10 days after the first shoots. Seedlings are planted very carefully, as the transfer of plants that have not yet become stronger is very destructive for them.
The following transplant must be performed if available on seedlings two sheets. Replace it is necessary in pots with a capacity of 1 liter. This should be done carefully, removing the saplings from the glass along with the ground, so as not to damage the still weak root system. After transplantation, seedlings must be watered with a spray bottle.
Nip
Perform the pinching procedure so that the stepchildren do not slow down the growth of the main stem. It’s necessary to remove them until until they grew to 5 cm. This procedure will be painless for the plant.
After transplanting is recommended pinch and stalk itself. Then all power will be directed to the fruits. For tall varieties, pinching in two stalks is recommended.
At the same time, in addition to the main trunk, one more stepchild is left, who will subsequently be the second stem. With this kind of pinching to ripen the fruit will be slower, but the yield will increase significantly.

Hardening
After appearing on seedlings three sheets it needs to be tempered. This will help seedlings to better adapt to weather changes and improve immunity to disease.
In the first days of hardening in the room for 20 minutes open the window. It is necessary to ensure that there are no drafts, and the cold air flow was not directed at the seedlings.
The next days the seedlings are carried out to the open air at first for 2 hours, then the time is increased to a full day light. Two days before planting, seedlings are left outside for a day.
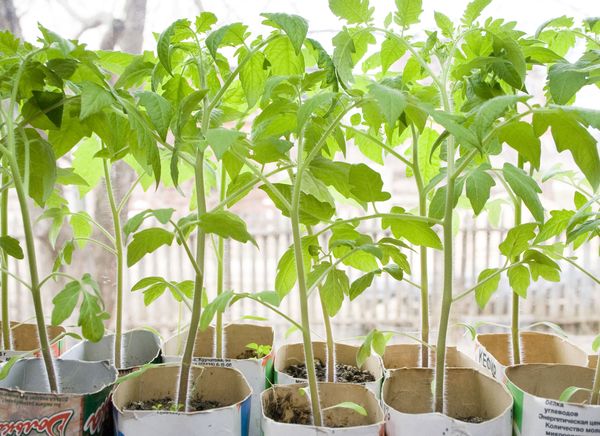
Signs of excellence healthy seedlings
- height 30–35 cm;
- thick sturdy stem;
- Availability 10–12 sheets;
- leaf color is dark green;
- formed inflorescences.
Common mistakes when growing seedlings
- the unsuitability of seeds for growing seedlings (not selected);
- improperly prepared soil (heavy soil or not disinfected);
- non-compliance with the temperature regime;
- lack of lighting (excessive stretching of the seedlings);
- early terms of sowing seeds;
- lack or excess of moisture;
- no hardening;
- untimely transplant of seedlings.
By the time of planting, the age of the seedlings should be 55—60 days. Perederzhivat seedlings is not recommended, as this will significantly reduce the harvest. Depending on the region, the landing is carried out from the beginning of May to the middle of June.
Compliance with these recommendations is the key to growing healthy, robust seedlings and obtaining high yields.